After a few helpful tips from members of Caferacer.net and a reader of the blog, I finally got the timing set on the GS. For others that might be trying to set the static timing on a GS; I had to attach the alligator clips to the points on the picture below in order to get the continuity test to work. The red point being for the left cylinder and the green for the right. It really doesn't matter where the positive and negative go as all you are doing is testing when the circuit is closed and when it is open.

The next step in the Clymer Manual was to clean and oil the air filter. So that was what I set about doing. In the pic below you can see the intake which is nestled deep below the seat on and with a rearward facing inlet. Suzuki really did not want any turbulent air getting to the carbs.

Removing the two screws grants you access to reusable the air filter, a steel basket with a foam element that some larger holes and then a last ditch protection screen that covers the exit of the filter. The single Phillips screw holds the filter in place, loosening it will allow you to extract the filter.
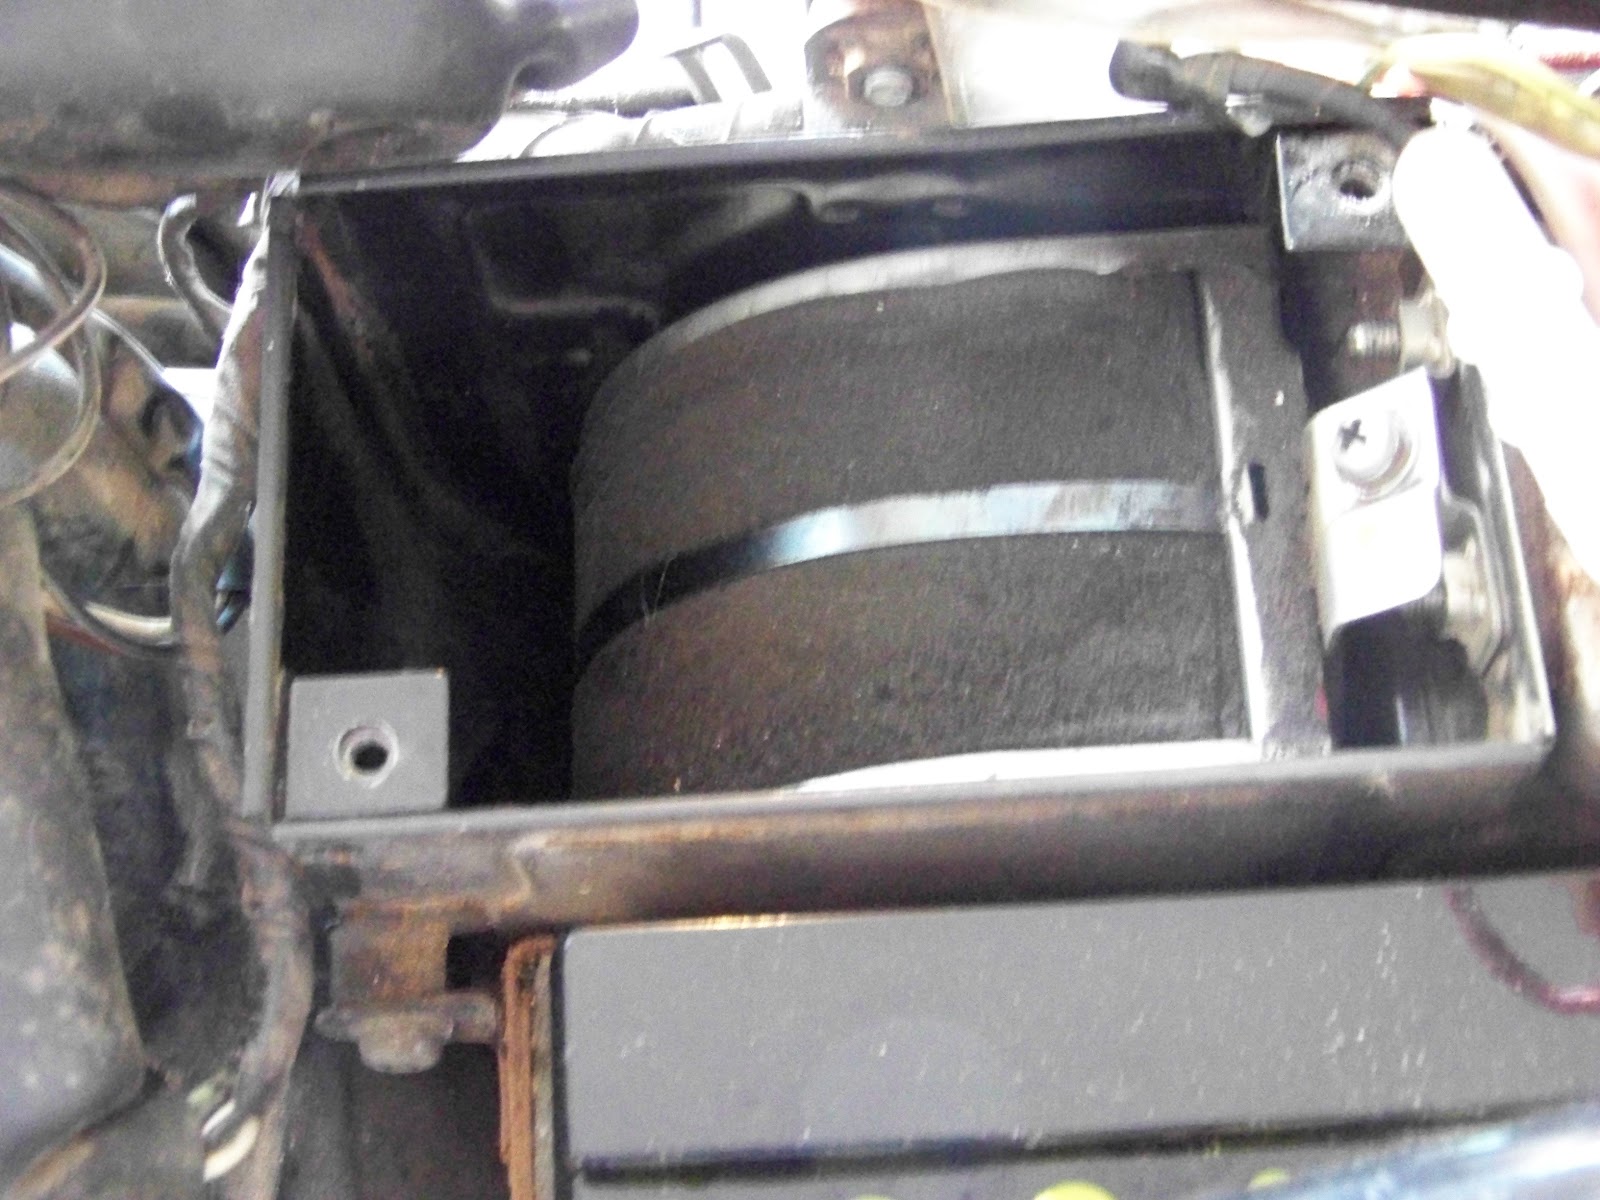
After getting the filter out, it is clear that the foam has seen better days. In the pic below you can see the band that is meant to hold the foam element in place and see how loose it is on there, evidence of a filter element that was once much more supple?

Below you can see the exit of the air filter and the protective screen. as well as the larger holes that the filter element sits on.

Removing the retaining band is a matter of just pressing it in and working it loose from the slot that is hooks into. That will allow you to take out the foam element.


The Clymer Manual says to use some degreaser on the filter element first and then to wash it with soap and water taking care to not twist or wring out the element.

There were a lot of holes in my filter element, as I am not sure what my plans are for the bike this will have to do for now. The manual says to press it flat between two paper towels to expedite the drying process.

I had some downtime while the filter was drying so I decided to see how the timing adjustment affected the bike's starting. I should have brought the video camera down for this but in all honesty I feel a little dorky recording myself when my wife is around. It's dorky when she isn't too but at least it's just me to see it! My first impressions were that it did want to fire easier and that with a little blip of the throttle it came to life. I was still having to keep the throttle open to get the bike to run so I finally took a good look at the idle speed adjuster screw and adjusted right to the point where it made contact with the throttle opening linkage, and started it again (Still needing to blip the throttle to get it going) and with a little adjusting I got the idle set and the bike ran for about a minute and thirty seconds on its own at 1,200 RPMs! That felt great, eventually it stalled again and I was able to get it going a few more times before the battery konked out. I am having issues with the throttle sticking too so that will need to be looked into. My next step is to take apart the carbs and re-check all the tiny vacuum holes and a member over at Caferacer.net pointed out that I didn't remove a few pieces during my cleaning process so I want to do my due diligence and make sure I know absolutely everything is clean and free flowing. I actually have part of that process done already so stay tuned for another update later this week!.
Oh man, that filter is WELL gone! Chuck it, before it tries to suck chunks of foam into your carb.
ReplyDeleteThat's actually a really cool filter design, it looks like you should be able to replace it with standard open cell foam, instead of shelling out $$$ for an OEM replacement. (most filters are made from specially shaped foam)
Find an upholstery or mattress shop and ask if you can dig through the offcuts pile. so long as you can match the approximate thickness you can cut to size. be sure to cut it big enough to seal all the gaps, give it a through soaking in Bel-Ray blue air filter oil - oil and foam in a Ziploc bag, massage it into the foam, squeeze the excess. You'll be golden.
Enjoying the build, keep it coming!
Anthony,
ReplyDeleteThanks for the tip! I was thinking that I should be able to do that, I was going to go to a cycle shop and see if they had some generic foam, but a mattress upholstery shop could save some of the moto premium. I also like the filter design, harkens back to the day when manufacturers wanted to make things serviceable as opposed to just replaceable. I didn't run it with the filter back on after cleaning it yet probably a good call not to!
Thanks for the comment and I appreciate your reading my blog!
Juan