Wednesday, August 31, 2011

Mufflers Properly Reinstalled


As I have mentioned in previous posts the bike with open headers is just way too loud.  The previous owner had ditched the stock mufflers for a set of stock Harley Davidson Sportster mufflers.  The problem with this is that the Sportster muffler's outside diameter is 1 7/8" and the headers outside diameter is 1 1/2" the problems is that the size differences are so much that the clamps will not allow the muffler sleeve to clamp all the way down on the header.  As stated in my blog summary there isn't a lot of money to be spent on the project so my first attempt at resolving this issue was the cheapest.

After some shopping around I found some automotive exhaust reducers that would work for my purposes.  The reducers are standard a galvanized exhaust pipe with a 1 5/8"inside diameter on one end and a 1 7/8"inside diameter on the other.  So I picked up two of those and four sets of clamps to hold them the whole works together.


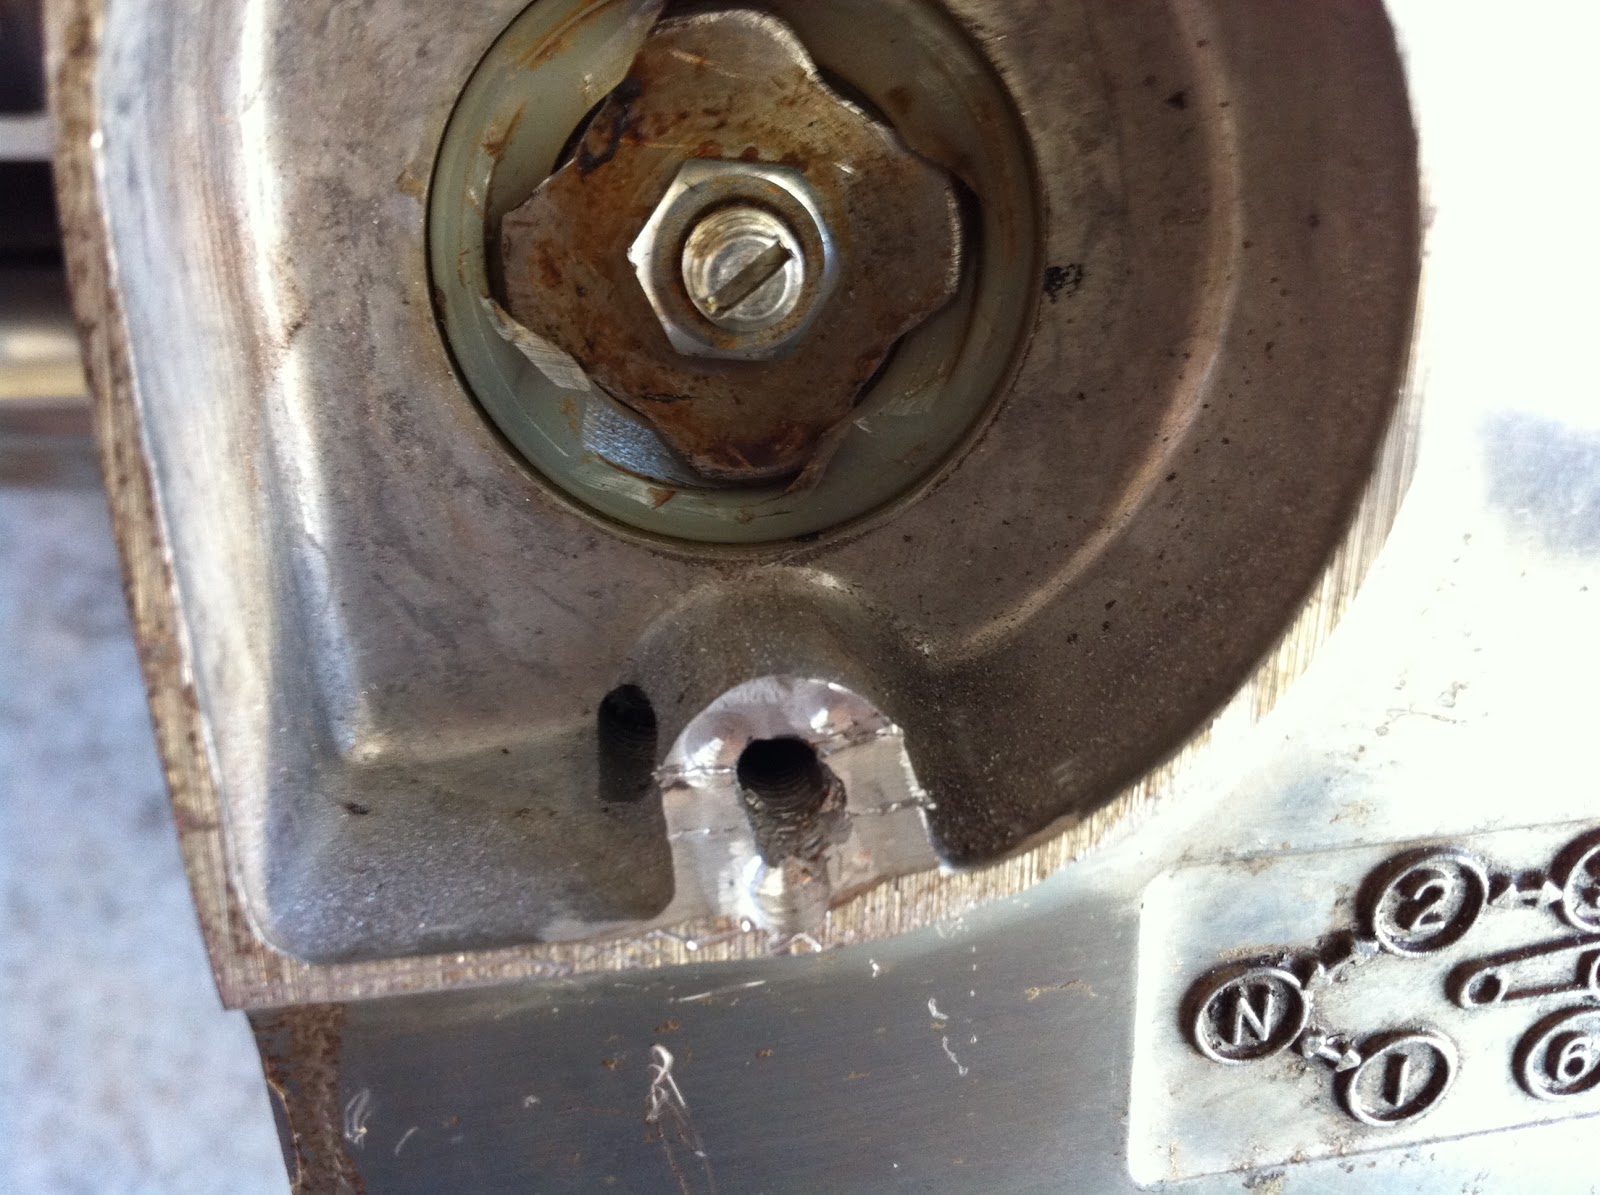
The smaller end of the reducer wasn't exactly a correct fit so I did a four-way cut on the smaller end with my hacksaw to allow the clamps to squeeze down the small end of the reducer to fit the header pipe.  Here's a look at the rig I used to hold the pipe while I cut it.


Here is a look at the completed reducer.


Here is how the joints between the muffler and the header looked when it is done.


The main idea here was to eliminate the leaks in the exhaust and quiet down the bike and this seemed to do the job.  Check out the video below to see some more tinkering.


That's all I have for now.  It might be a little while before another update as starting this Thursday I will be working 12 hour shifts for the next 8 days :-(


Wednesday, August 17, 2011

First Ride on the GS


One of my best friends got married on Saturday, a great couple, a great day and a great party.  Even through the post alcoholic haze from the night before I was able to get some work done on the bike this Sunday.  Mostly in the form of getting the stuck EZ-out out of the counter shaft sprocket cover and then getting the bike back together and taking it for a short shakedown ride.
First, I tried to drill around the EZ-out fastener managing to break two 1/16” drill bits in the process finally I just chiseled out the aluminum to a point where The EZ-out and the fastener came out.  I might still have enough “meat” left in the non-chiseled portion to put a longer threaded fastener in ot drill and tap for a longer fastener.


On the opposite side of the cover is the mechanism that depresses the clutch rod.


Once that was back in I had the bike in together enough of a stat that I shakedown ride was possible.  Keeping in mind that the bike isn’t titled yet I took it for a ¾ mile run to the gas station.  Some issues arose once I the bike got up to temp it had some issues maintaining idle speed on the way back and would die if I didn’t give it a little extra gas.  I am going to have to look into getting new carb boots and spacer gaskets to make sure that there are no air leaks on the intake side.  Also with the stock jetting it is probably running lean without the mufflers, not to mention that the thing is too effing loud!  All things that I will need to address but it was still good to get it on the road!


Tuesday, August 2, 2011

New (Old) Carbs In and She Runs!

Halfway through July I finally made it out my local motorcycle boneyard and after about 20 minutes of their parts guy combing through about 4 shelves filled with racks and racks of carburetors he managed to fish out a set from a 1979 Suzuki GS 425!  I was excited with that news as they guy on the phone had told me that they only had a set for a GS 450 which probably would have worked but needed some tweaking so a direct replacement was a bonus!   Also included in the deal was a complete throttle cable that was not broken and moved within the sheathing a lot better than my original so that means I only need to find one more to have a completely functioning set with no defects.

Since the GS 425 is not a real sought after or in demand bike I got the carbs for a good price too.  These carbs were a lot worse off than my original ones though.  A lot dirtier and the slides were pretty much gummed up with varnish and did not want to move at all.

Rather than bore you with a whole bunch of pictures of carb internals again I didn’t take pictures of the cleaning process this time around.   This time around I avoided all the mistakes I made on the first set and everything went quite smoothly.  I made sure that all the passages flowed free and used a wire from a wire brush to clean out all the small nooks and crannies, set the float height at 26.6mm, set the A/F screws at 2 ½ turns out and bench-synched the carbs.
I ran into a few little mix-ups in the re-installation process, the first being the order of putting the carbs in VS. the cam chain tensioner.  The Clymer manual says that the cam chain tensioner needs to go in first and then the carbs.  I have found that I have a much easier time reattaching the throttle cables with the cam chain tensioner out.  The other thing that I ran into was that I flip flopped the lower bracket so when I tried to put the cam chain tensioner back in the lower bracket was impeding on the clearance with the tensioner so it tool a very short screw driver in order to flip the lower bracket without removing the entire carb assembly again.
After all the work I reinstalled the gas tank and rolled the bike out to driveway and prepared to try and start the bike.  First I turned on the choke at the carburetor and put the petcock to “PRI” and thumbed the starter button.  It started almost right away but was idling really high 3-4K so I turned the bike off and turned the choke off and put the petcock to “ON” and started the bike again with a screwdriver handy to adjust the idle speed screw.  I thumbed the starter again, this time the bike was idling around 2-3K and when I started turning the idle speed adjuster screw out the idle responded compliantly and eventually settled to around 1.5K this is the point where I shut it off and grabbed the video camera, taking the following video.


As I said in the video it was quite satisfying to have the bike running and idling (and in my opinion, well) after almost a year’s worth of work!  There is still a lot more to be done with the engine before I take it for a ride or even run it all that much but that will all be covered in future posts.  For now I am just going to bask in the first major hurdle in the project being cleared!  Thanks to everyone who reads and provides feedback it is greatly appreciated!