Tuesday, March 29, 2011

The Best Laid Plans


Every once in a while you set out to get something done and it just doesn't work out the way you meant for it to.  Today I wanted to continue on with the headlight work I have been doing on the "Low Slinger" but things just didn't go as planned.  I wanted to use the bike hoist I had made many years ago to lift the front end of the bike off the ground enough to slide the fork tubes down so that I could get the headlight mounting brackets off of them.  They had obviously been quite bent in a crash at some point  in the bikes 31 years on this earth and I wanted to straighten them up so that the headlight was centered and the turn signals were straight.

The problem I ran into upon assembling my bike hoist is that I forgot that when I was last assembling it I accidentally over torqued one of the pipe joints and I twisted the threads off  of the pipes and it was stuck in the tee joint.  I had meant to replace the pipe and the tee joint before I would need the hoist again but that was years ago.

Undeterred I finished assembly without the missing right leg base and figured I'd give it a go and see if it would lift the front end.  I figured the chances of me dropping the bike were pretty slim.

It turns out that the chances of dropping the bike were slim, but so were the chances of the hoist actually holding up the bike!


So I spent what time I had carved out for working on the bike (not much since I am work 12 hr night shifts this week) using a hack saw and a chisel to cut out the threads that were stuck in the tee joint and hope that I could use the remaining threads on the pipe to complete the assembly of the hoist and get the job done.  Well it turns out that the remaining threads on the pipe weren't deep enough to engage the tee joint, at which point I disassembled the whole shebang and called the day a loss.

Isn't it funny how that works some times?  One little thing ends up throwing a wrench in your plans as I get older I find that a lot of the times (intentionally or not) that one thing is normally me!

Monday, March 28, 2011

Identity Confirmed

It has been a point of speculation what exact model my bike was since I picked it up.  First the previous owner told me that it was a 1979 Suzuki GS 450L, but then it turns out after doing some research there was no such thing as a 1979 Suzuki GS 450L, and upon close inspection the engine confirmed the fact that it was a 423cc (the actual displacement of a 1979 Suzuki GS 425).  The next question was what model was the bike.  At the time to my knowledge there was a 1979 Suzuki GS 425 and a GS 425E, there was talk of there being a GS 425L being made at the end of the year but I couldn’t find too much on it.  A few things prompted a sneaking suspicion that the bike was one of these GS 425L models.  The “King and Queen” seat, the gauge cluster, and the latest discovery that the front rim was a 19” and the rear an 18” rim.  So, after some digging I found a scan of a 1979 ad that has a bike that looks exactly like mine (save the color).


So what does this mean for the project? Well the main thing is that the plan to attempt to convert this some sort of a cafĂ© racer are pretty much dead in the water.  The geometry of the chassis, the different sized rims embed the DNA of a wannabe chopper into the bike so much that attempting to make something sporty out would be too much to ask of the bike.  There are ideas rolling around in my head but for now the plan is to not fight the nature of the bike and work towards making it a good solid runner and then go on from there.   The amount of money I have invested into the bike right now is minimal and the possibility of turning around and selling it for a profit is very real.  At which point I can find a more proper candidate for customization.  But if the proper idea/inspiration hits me the bike could stay in my stead and it could become something more unique.  Only time will tell at this point.

Wednesday, March 16, 2011

Headlights, Throttle Cables and Mirror Stalks


As I discussed earlier, I wanted to try and sew up the headlight portion of the project in my next installment of the blog.  Also, I wanted to try JB Weld the throttle cables which were broken on the plastic tubes coming out of the right hand controls.  Another little thing that I did was basically chopping off the mirror that was JB Welded into place by the previous owner in a manner that made the mirror completely ineffective, and then chopping off the nub of a mirror that had also been JB welded into place and then broken off at some point.

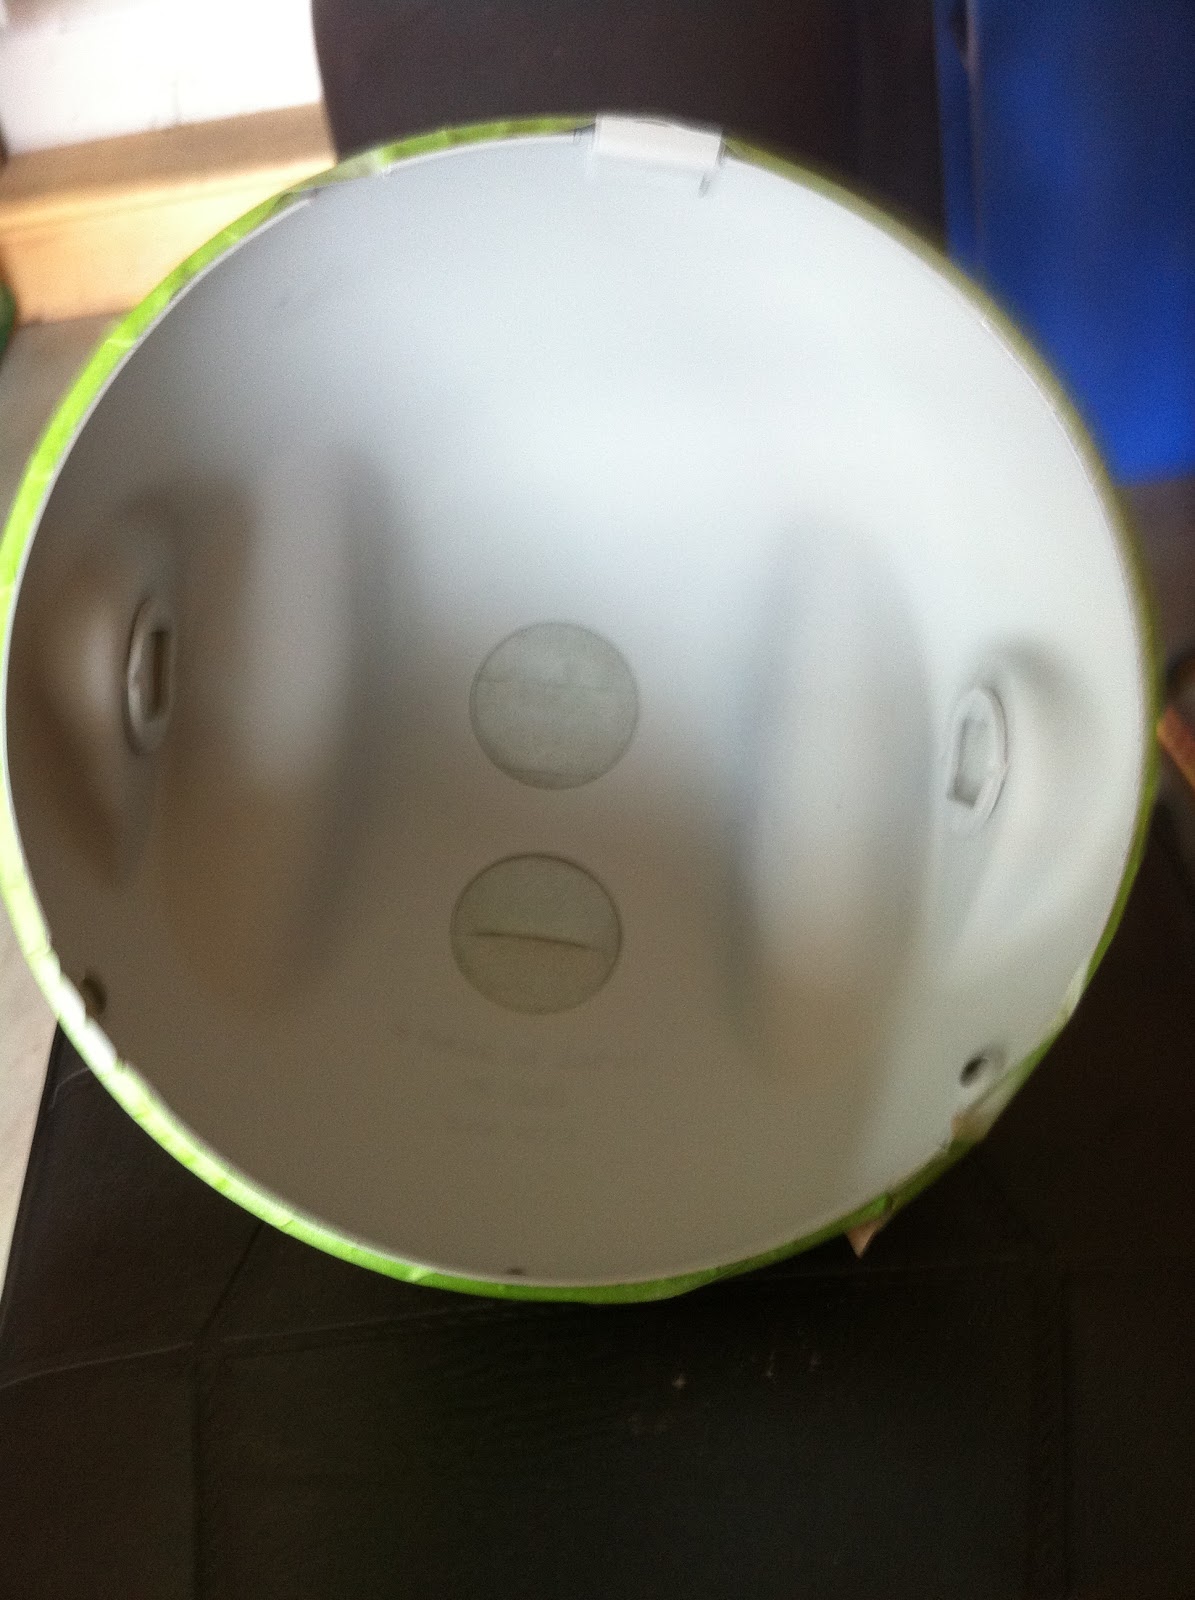
The first step in the cleaning up of the headlight housing was to clean up the rust.  To accomplish this I used a Black & Decker 3" fine wire wheel mounted to a drill.


This did a pretty good job as you can see in the below picture which I took mid process.


In the picture below you can see the masking job I did on the outside of the headlight housing.


Here is a shot of the Primer coat on the inside of the headlight assembly.


After that dried I applied the coats of gloss "canvas white" to the inside of the housing.


The next thing that I wanted to address is the issue with the throttle cables.  As you can see in the picture below, the plastic has broken where the threading to adjust the tension on the throttle cables goes into.

This has been causing issues with my ability to be able to finess the throttle when I have been trying to start the bike.  The throttle response is sluggish and also sometimes sticks.  The trick with JB Welding these was going to be to not have the stuff squeeze into the tube and then "weld" the cable into place.  It was worth the risk, as I was getting nowhere with getting the bike to idle properly without good cables and the set would be $60-ish for the set from Suzuki if I needed to buy new ones.  So with nothing to lose I figured I'd give it a try.

The first step, which I didn’t get a picture of was to get enough of a bead on the broken end to hold it together and not squeeze in.  I let that se overnight and then in the morning once it was holding pretty well, I coated the whole exterior with more JB Weld.  If you look carefully at the picture you can see the raised area where the initial bead was under the JB Weld coating.


The good news is that throughout the process I managed to have no interference of JB Weld with the cable so they still slide freely!  I might look into the proper way to lube them if possible to the to help them slide even better!  The true test will be once I get them mounted back on the bike and see how they hold up (stay tuned for that).

Here is another thing that has always annoyed me about the bike.  This rearview mirror on the left was JB Welded into place by the previous owner and the way it is set you can’t even adjust it to see behind you!  I can tell the same thing had happened on the right hand side too but that one had broken off already.


Even if I could have removed the mirror, which I couldn’t, they aren’t to my taste so I hack sawed them flush with the controls and filed the smooth on both sides.  In the pictures you can see what had happened.  The original mirrors must have stripped out and it looks like they drilled out the holes filled them with JB Weld and then stuck the mirrors in the holes.  I’m not sure that I will use those mounting points in the long run but if I do I will consult my machinist friend and we will do it the right way.  On a side note, the irony that I am bitching about someone’s use of JB Weld when I have used it in my last two blog updates is not lost on me!


I did identify one thing that I might have swayed my direction on what will be hapening with this bike.  This bike has a 19" front wheel and an 18" rear wheel which I still have to confirm but I am pretty sure that means I have a 1979 Suzuki GS425L not an "E."  The "L" was a chopper wannabe and I have to see what the differences are in the chassis but it there is a huge difference that swings it away from being a sporting prospect, I may be going in a bobber direction or perhaps just a refresh and keeps stock mindset instead of a cafe racer direction.  Kind of sad, but I think if in the end I am able to keep an old bike on the road everyone wins!
That's about the extent of what I accomplised before I delve into my work week (Thursday - Sunday this week) but I should mention a couple of great things that happened this week as well not specifically related to the bike
1. I was able to work on the bike at night with the garage door open for the first time this year!

2. I took the SV650s for its first ride of the year today!  Awesome!


Till next time everyone take care!

Friday, March 11, 2011

A Little Less Cobbly In the Headlight Department

One of the nit-picky things that I identified early on about the bike was the way a non-stock headlight was unceremoniously stuck onto the back of a stock headlight bulk with what appeared to be caulk.

After talking to a local shop owner that has owned 3 of these bikes over the years he informed me that this was not an uncommon practice, as the price of the OEM replacement bulbs went north of $50 and the cost of a halogen bulb with the matching plug was only $7.  Still I didn’t want to accept that I would have to glue a light bulb in whenever I needed to change one.  Check out what I came up with in the video below.


You can see in the detail picture below that the washers, once the washer with the 1” inside diameter is JB Welded onto the headlight bucket, will clamp the headlight bulb into the headlight assembly.  You can also see that the bolts are too long and will have to be ground down (more on that in a bit).

The smaller washer is a 7/8" inside diameter.


Just a small bead of JB Weld is all that is needed.  I took a file to the area where the JB Weld was going to be applied.


After I had the washer positioned where I wanted it, JB Weld’s instructions recommend that you let it cure for 24 hours so that is what I did.

The next day I took the assembly to a friend’s garage to grind down the bolts and do a final assembly.  A growler of Ale Asylum’s “Madtown Nutbrown” was along for the ride as well!


When I was grinding down the bolts I put the head in a vise grip and took it to the bench grinder.  The first one didn’t do so hot!

The rest turned out okay, but I think I might go with some socket head cap screws instead that are bought at the right length in the long run.  The final assembly looks like this.


All in all I am pretty happy with the progress on the headlight, there is till the issue of the rust on the inside of the headlight assembly, that might be the next project so I can close the chapter on the headlight altogether.

Monday, March 7, 2011

It Wants to Be A Good Bike… I Can Tell!!!

So it’s been a long time since I posted an update but life kept me out of the garage for a good amount of time in this new year.  First was our 2 week honeymoon which was an amazing time, and after that I had to throw myself into my NERC Reliability Coordinator certification studies. Which I passed, if you were wondering…
But now that the studying is done and I am steeling into my new job and the responsibilities that come with it, I see a fair amount of wrench time in my future!  The first thing that I decided to do once I got back into the garage was to lose the leather Harley grips, they have no place on a bike of mine.  The will be replaced with some spider grips that I had lying around.

After that I started to run down the real cause of the starter button gremlins on the GS.  I disassembled the right hand controls to see if there was anything wrong in there and discovered that when the previous owner installed the grips, he must have  routed the wires the wrong way around the bar causing some stress in the wires going to the run/stop switch.  The solder connections were showing a few cracks (but not disconnected) so I re-soldered them anyhow to be safe.

I took the opportunity to disassemble the thumb switch and clean the contacts on the switch itself in case that was causing it to not start.  Unfortunately these repairs did not have the results I was hoping for and the bike still would not start with the starter button.

I moved on to the clutch safety switch on the opposite handlebar to see if something was amiss.  I wish I would have take some pictures of the work I did on that side but I was so caught up in the work I forgot to.  I will try and draw up a diagram of what I found in case someone else is having the same problem.  Basically the clutch safety switch is there to make sure that the rider holds the clutch lever in while starting the bike to avoid someone lurching forward when they thumb the starter and the bike is in gear.  So you grab the clutch and the switch slides into position closing the contacts and allowing current to flow to the starter solenoid and conversely the starter.  When I disassembled mine I could see that someone had cobbled in a non factory clutch lever that did not slide the clutch safety switch when you squeezed the lever.  So for now perhaps for good I have soldered in a jumper to connect the two clutch safety switch leads permanently and that fixed the problem with the thumb starter switch! The clutch safety switch is pretty much an idiot protective device anyhow.  If you don’t know to have your bike in neutral or have the clutch in when you start your bike you deserve to be bucked off it if you ask me!
So after I got the starter switch fixed I figured it would be a good time to try an start the bike.  You can see how that goes in the video below.
That’s it for now, I have another post in the works now relating to the headlight assembly and a little less cobbly-a-way to hold my headlight bulb in place and I’ll try and get a diagram of the clutch starter assembly or maybe I’ll just take it apart again and take some pictures!

Thanks for reading!